
Paver patterns, borders, and layout decisions
A paver pattern organizes joints, sets visual direction, changes the number and location of cuts, and can help units resist movement under vehicle tires. Select it with the unit shape, area dimensions, traffic, borders, and architecture.
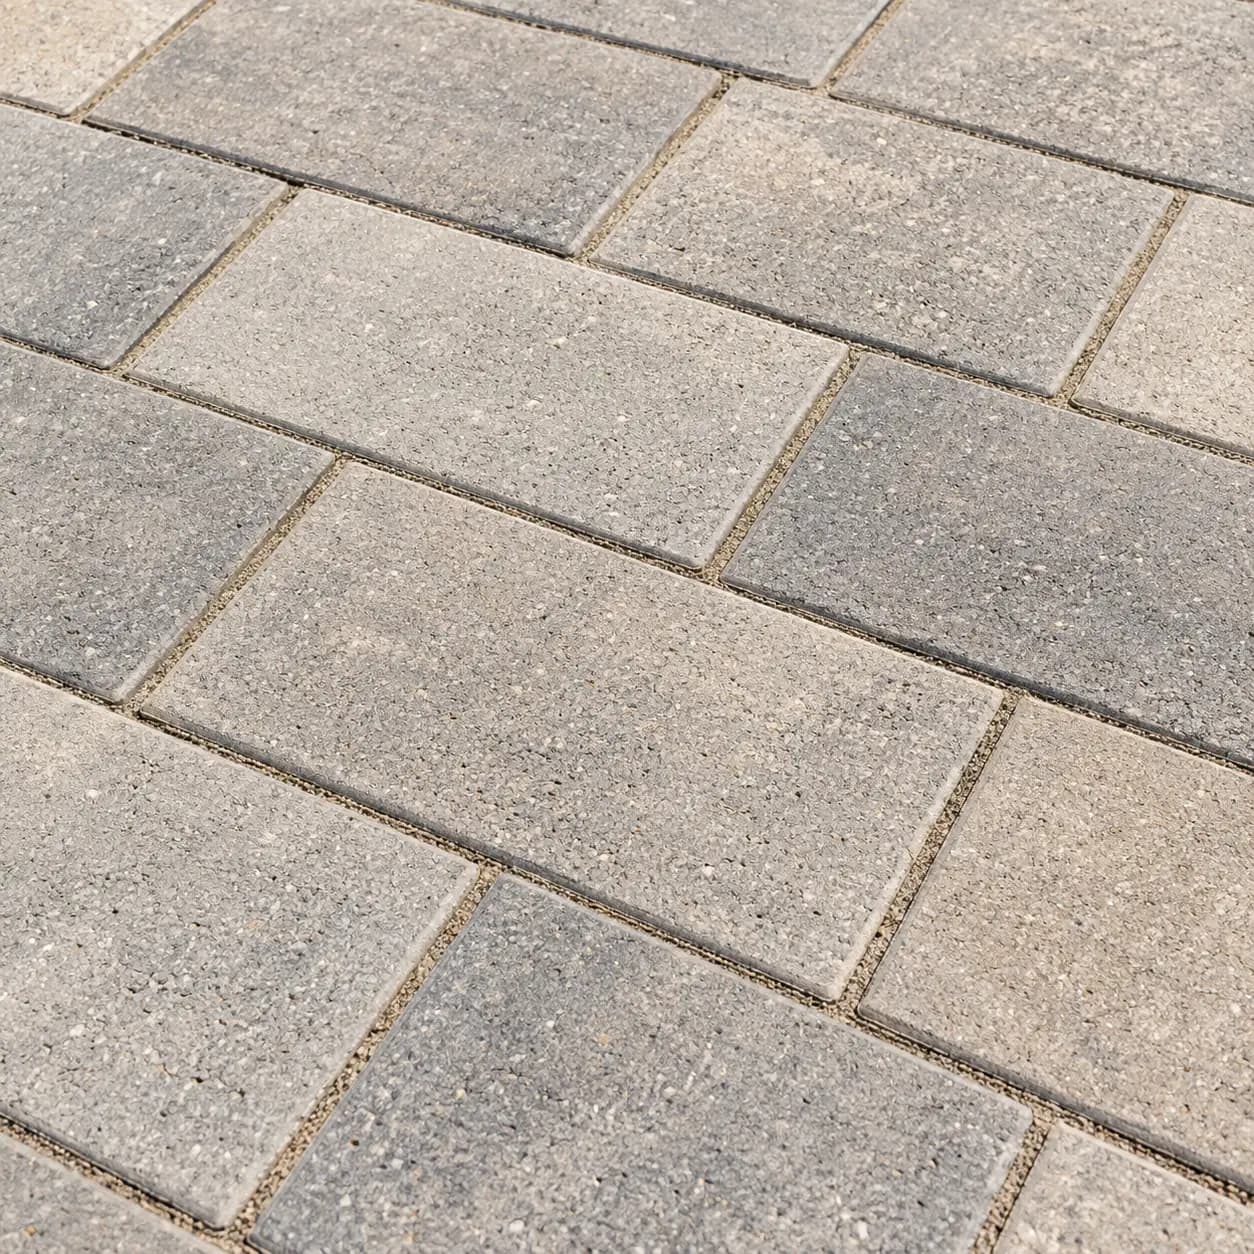
Running bond creates a clear direction
Running bond offsets each row and produces long parallel courses. It can make a narrow walk feel longer or guide the eye toward an entrance. The same direction can emphasize a driveway's length, so orientation should be tested on the actual plan rather than selected from a square sample.
This pattern is straightforward with rectangular units and can limit complicated cuts on regular fields. At curves, fans, columns, and angled property lines, the border strategy becomes important because the parallel courses meet the edge at changing lengths.
Herringbone supports active vehicle areas
Herringbone turns rectangular units at right angles to form a zigzag field. CMHA recommends 45-degree or 90-degree herringbone in areas with continual vehicle traffic because the short, discontinuous joint lines improve horizontal interlock. The pattern is useful where tires brake, turn, and accelerate.
The two orientations look different and create different cut conditions at the perimeter. A border course can contain the zigzag edge and simplify the transition, but the plan should show how the field meets the garage, sidewalk, curb, and street.
Basket weave, stack bond, and modular layouts
Basket weave groups pairs of rectangular units to create a block-like rhythm. Stack bond aligns joints into a grid. Modular or ashlar layouts combine more than one unit size. These patterns can suit patios, walks, courtyards, and low-speed spaces, but each creates a different scale and number of repeating lines.
A pattern name alone does not define performance. Unit shape, thickness, joint width, base, edge restraint, traffic, and installation quality remain part of the system. For vehicle areas, verify that the selected product and layout are intended for that use.
Borders solve technical and visual problems
A border can frame the field, change color, mark a threshold, or follow an edge restraint. Sailor courses place the long side of rectangular units along the edge; soldier courses turn the units so their short ends face outward. Either can be useful, but tight curves and irregular corners may still require cuts.
Plan borders around the whole area, including steps, planters, drains, utility covers, columns, and gates. A border that works along a straight front edge may become crowded at a narrow return. Drawing these conditions prevents a clean sample detail from turning into many small pieces on site.
Use color to clarify the layout
Color can separate a border, identify a pedestrian route, or soften a large paved field. Too many colors and pattern changes can obscure circulation and make repairs harder to blend. A restrained palette usually gives the joint geometry room to read.
Review the layout at the scale of the full project. Mark the starting line, primary viewing direction, field orientation, border width, transitions, and unavoidable cuts. Blend units from multiple bundles during installation when the product has intentional color variation. Keep a record of the product and pattern for later repairs.
- Test pattern orientation on a scaled plan of the actual area.
- Locate borders before deciding where the field pattern starts.
- Review cut sizes at curves, drains, columns, gates, and angled edges.
Common questions
Is herringbone required for every paver driveway?
Not every project uses the same pattern, but CMHA recommends 45-degree or 90-degree herringbone for areas with continual vehicle traffic because it improves interlock. Product shape, traffic, edge restraint, and the full pavement design also matter.
Can a border use a different paver color?
Yes. A contrasting or related color can frame the field or mark a transition. Review full-size samples and the complete layout so the border supports the design without creating awkward cuts or too many competing elements.
Further reading
The pattern changes the space.
Try a layout, a tone, and the visual spacing between joints.
Layout study. The actual unit and joint are specified for each project.
Alternating rows offset the joints by half a unit.
Same place. Another finish.
Slide to compare design options across the same view.
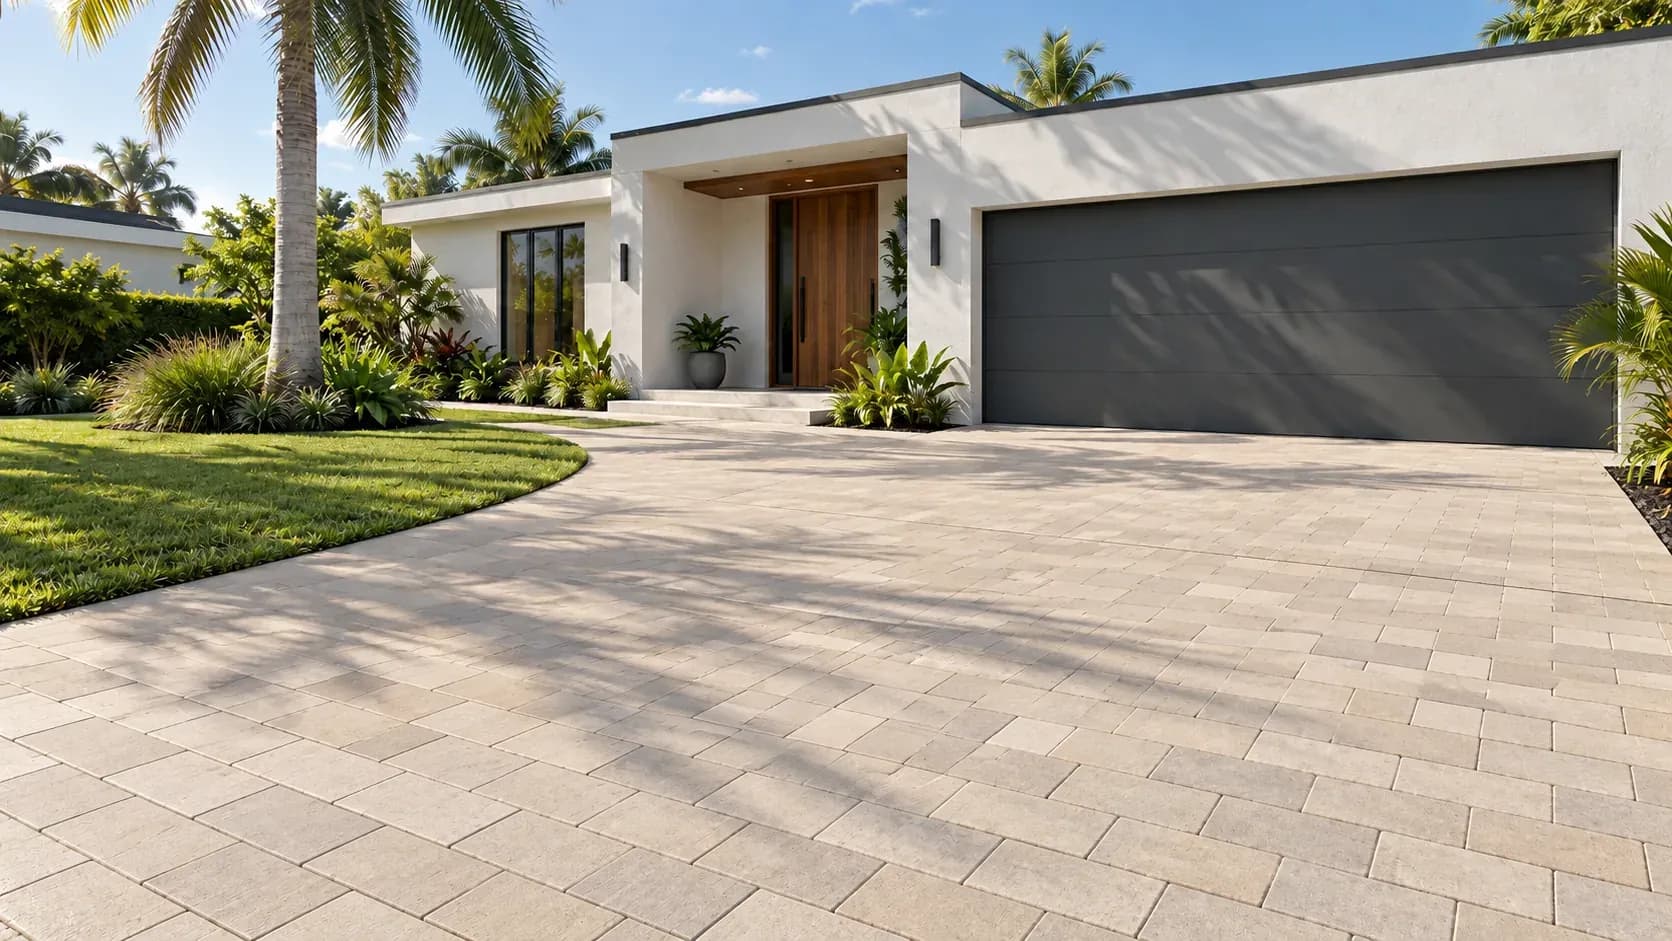
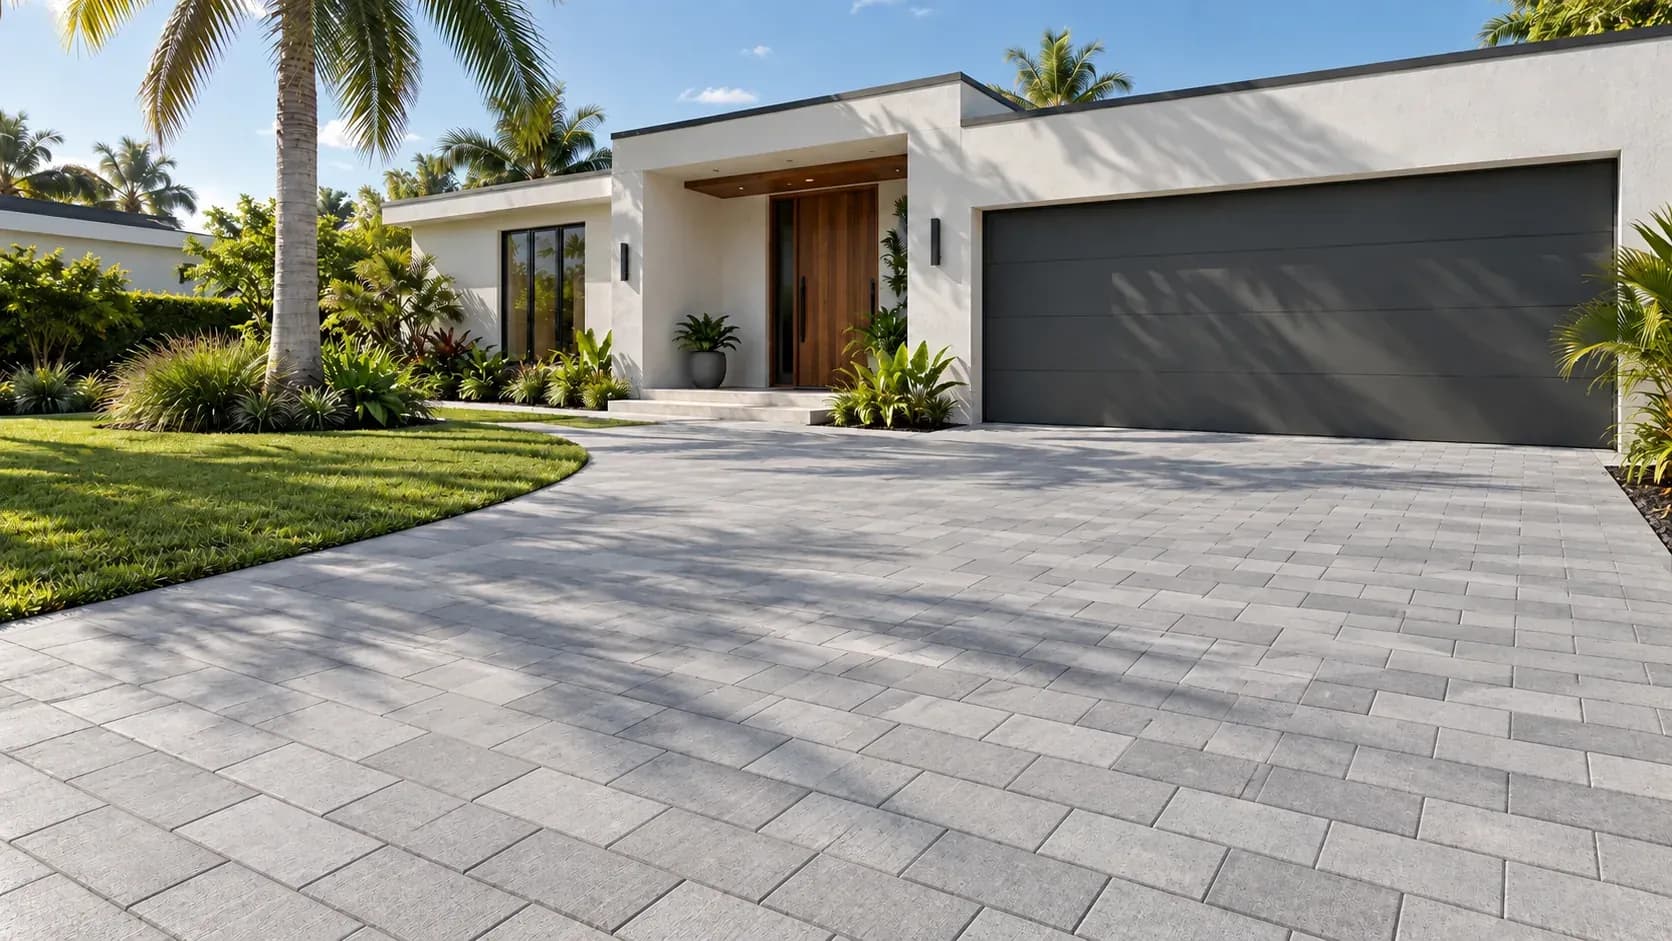
Drag or use your keyboard arrows.