
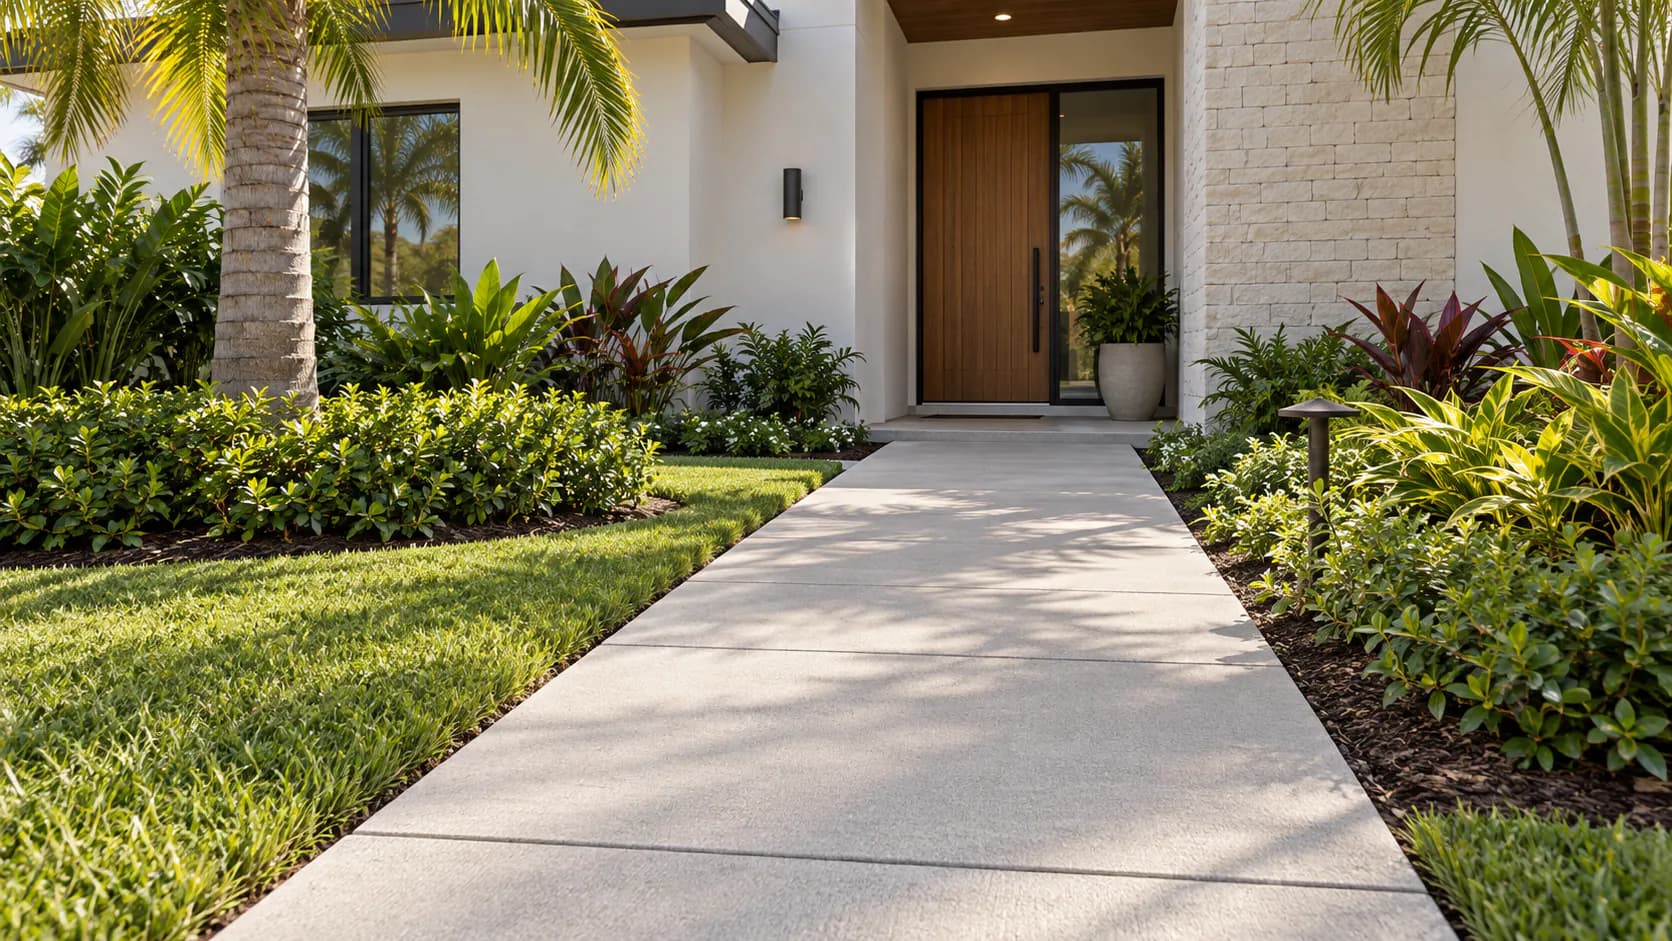
Show the whole project first
Start with a wide photograph that includes the entire area you want reviewed. For a driveway, show the entrance, the route toward the garage, and the surrounding edges. For a patio, show the proposed footprint and its connection to the house.
Take additional wide views from other safe positions. A single photo can hide a slope, a narrow access point, or part of the surface behind a parked vehicle. The aim is to make the layout understandable before the reviewer looks at individual cracks or material references.
Add detail photos with context
After the wide views, photograph specific concerns. These may include cracked paving, uneven joints, a worn section, a broken edge, or a place where water collects. Send both a wider photo showing its location and a closer photo showing the detail.
Describe each image with a short caption. ‘Crack near the garage entrance’ is more useful than ‘Photo 3.’ If you do not know why something happened, state the observation. A photo can support the discussion, but it cannot establish the condition of the ground or construction below the surface.
Include the edges and access route
The estimate review also needs context around the work area. Photograph where new paving would meet existing surfaces, including the house, sidewalk, lawn, steps, garden beds, and drains. Show the route from the street to the project, including any gate or narrow passage.
Move ordinary objects only when doing so is safe and practical. You do not need to expose buried features or disturb the surface. Explain access restrictions you already know and identify existing features you want to retain.
- The full driveway or patio from several angles.
- Close views of visible concerns.
- Connections to existing paving and the house.
- Gates and passages leading to the area.
- Drains, utility covers, and features you want to keep.
Share approximate dimensions clearly
If you already have measurements, send them with the photos. Identify which dimension belongs to which part of the project. A simple sketch can show the length, width, curves, and separate sections more clearly than a list of numbers.
Label estimated measurements as approximate. If you measured only one section, say so instead of applying that number to the entire area. Do not climb, enter traffic, or reach across an unsafe surface to collect a measurement. The contractor can confirm dimensions during the site visit.
Describe the work you want
Write a short note that explains your goal. State whether you are considering replacement, an extension, a material change, or review of a damaged area. Include the decisions already made and those you still want to discuss.
If you send an inspiration photo, keep it separate from photos of your property. Explain whether you like its color, pattern, border, or layout. That distinction prevents a reference image from being mistaken for an existing condition or an exact product selection.
- Which areas belong in the project.
- How vehicles and people use the space.
- Materials or reference photos you want to discuss.
- Existing features you want to keep.
- Drainage observations or access concerns.
Send a clear, organized set
Review the photos before sending them. Choose images that add a different view or useful detail, and remove duplicates that make the set harder to follow. Check that captions match the correct image.
The estimate form accepts up to five JPG, PNG, or WebP photos. Keep their combined size at 4 MB or less. Photos support an initial review; final dimensions, site conditions, and construction details still need assessment. Keep the originals so you can point to the same locations during the walkthrough.
Sources and further reading
References used to support this guide.